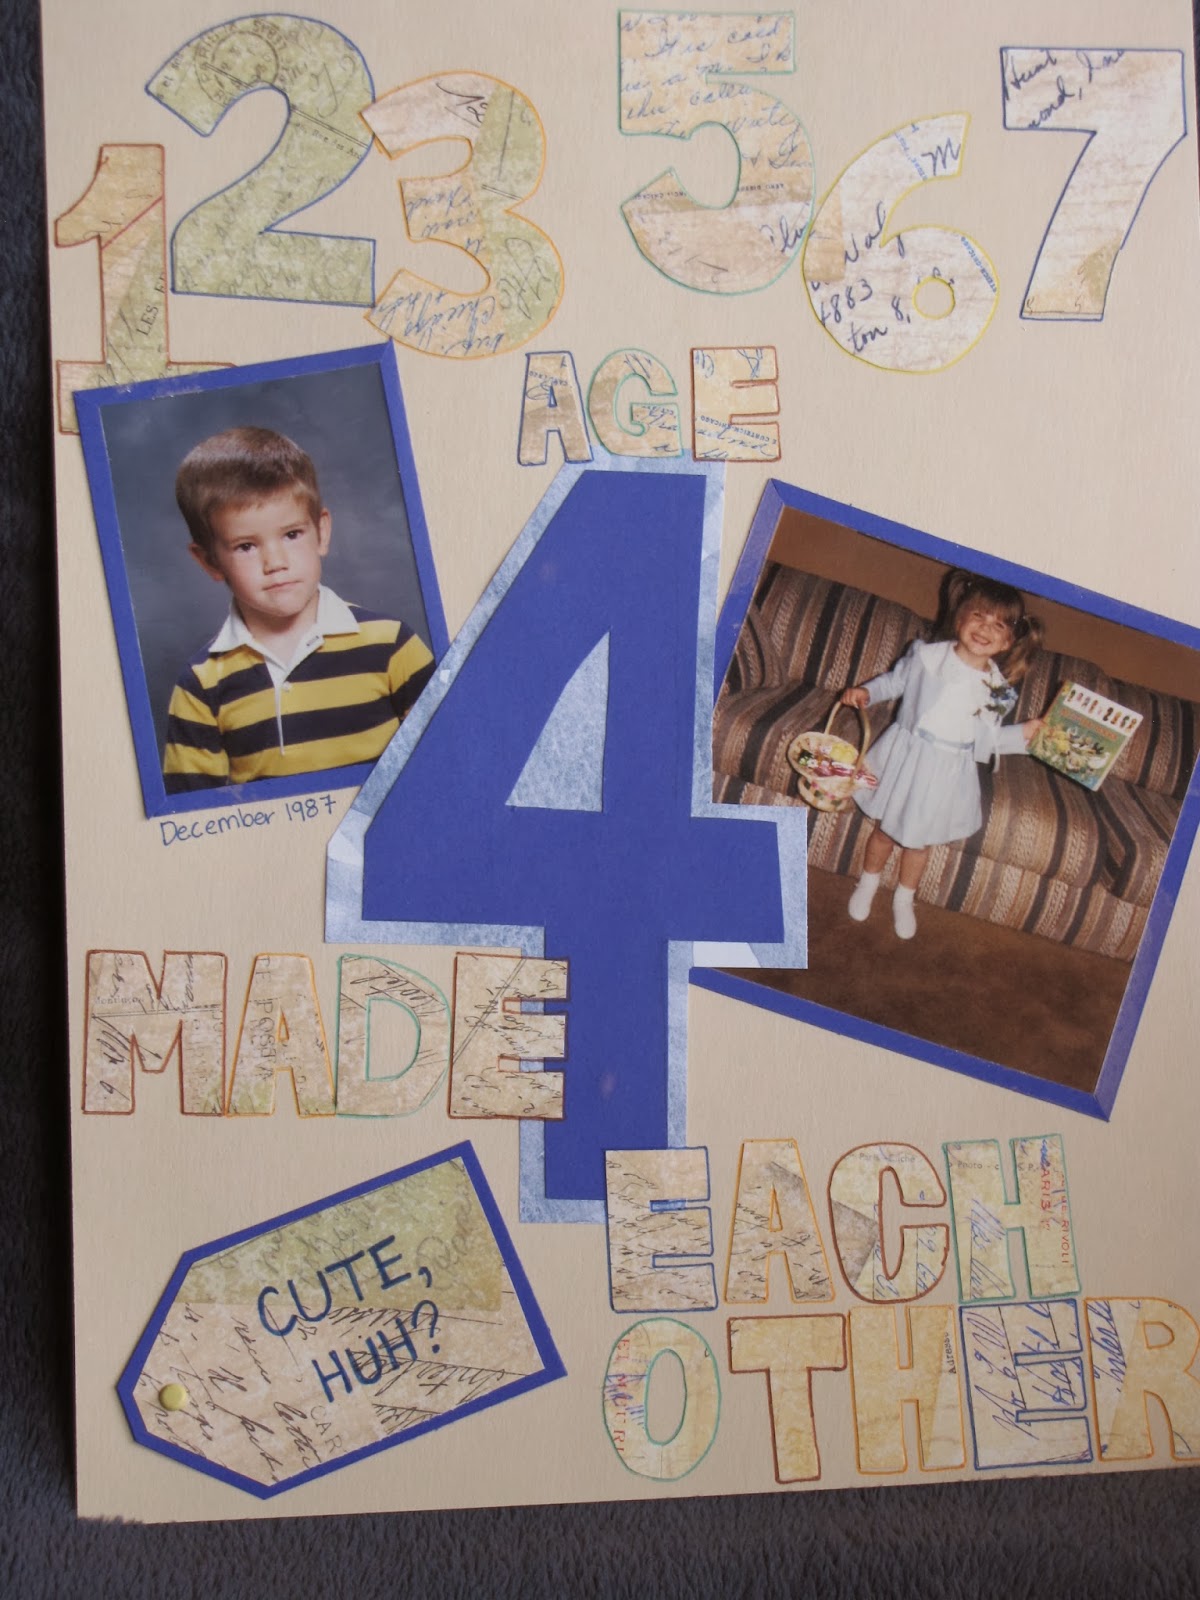
So, it's been a while since I posted, eh? My original intent of this site was to keep a history of scrapbook stuff I'd made and given away, since I tend to work the hardest on stuff I do as presents for other people I miss it when it's gone! But I changed my mind on the intent. My new idea is to use this as a place to put up some of my favorite pages or favorite little details that I've done. To begin, though, I'll post my style of scrapbooking, copied straight from my home blog jaconbncompany.blogspot.com, so you get an idea of where I'm coming from. It's called: ScrapGirl to the Rescue!
Hold on, did I just call myself ScrapGirl? And I'm rescuing you? When did THIS frame of mind hit our dear deluded Kirsta?
Well, I was reading my SIL's blog (hey Amy!) and she was saying that getting into scrapbooking can be tough - it's so permanent! So personal! She WANTS to, but it's hard to get started. So I was thinking of things I might say on her comment space, a tip or a trick that I use when I'm stuck, and I realised that I had LOTS to say. I've been scrapbooking since I was 16 (oh, heavens, that's been 13 years now, this is embarrassing) so I've got *ahem* a few years under my belt, and I've made some mental notes during that time that help me out. So I whipped up an email to her with all these ideas and when I was done I was so pleased with myself that I took the entire email and first turned it into this blog post right here, and then gave myself a superhero alter ego named ScrapGirl.
Okaaaay, maybe I'm not good enough to have an alter-ego, but yay for scrapbooking! 13 years ago when I started, stamping was big (remember that trend?) and scrapbooking was nonexistent, so I've always viewed it as an artsy means of mass photo preservation; now I think mostly what you see is highly decorated pages designed around 1 or 2 photos with about $20 of flotsam on it... and those can look GREAT. I'm not knockin' the flotsam. But that's like a photography excuse to make an artsy page, all backwards for my way of thinking. So if that's not your style (or in your budget) you shouldn't kill yourself trying to recreate that! Lots of other people choose scrapbooking as an upscale medium for preserving photos - LOTS of photos, not so much flotsam. Like I said, I fall into this second category - I hate to buy scrapbooking supplies (I love to SHOP for them, I just hate when it comes time to hand over a stack of Benjamins) but I LOVE to scrapbook; also, I have tons of photos I need to squeeze in and I can't highlight every single one. SO. With that in mind, here are some suggestions to help get your scrap on....
1. Start now... like, stuff from 2013
If you go back to when your first child was a newborn and try to scrap chronologically from that moment forward, the sheer volume of stuff you have to cover will be overwhelming. Instead of feeling fun, scrapbooking will feel like a chore, and who wants to do chores? Not me. It's much more inspirational to me to start with very recent things and then when I WANT to, when I have TIME and INSPIRATION, I go back and fill in the gaps. I scrap all the time and there's still plenty of
times when I fall woefully behind, so then I just jump ahead, start from NOW again, and go back and fill in later. Also, I'm much less attached to my recent photos, they're so easy to reprint if I completely mess up, and I can usually recreate them anyway (pictures of playing in the yard, dressed in funny getup, etc). Feeling more free in my scrapbooking approach by using recent photos can spark ideas for things I want to do on my more precious photos.
2. Get inspiration
Sometimes I'll sit for an hour debating over paper colors, possible accents, agonizing over what angle the pictures should be... and then I don't actually get anything down on the page. An easy way to skip that is to get a book about scrapbooking that you identify with. Like I said, people interpret scrapbooking lots of ways and there's plenty of reference books I look through and think "yeah RIGHT!" because it's not my style; then again, there are plenty that I look through and think "I want to recreate THAT PAGE (minus some expensive flotsam)." So hit Barnes and Noble or the library and find something to take home and get inspiration from. Then, as best you can, copy a favorite page. "Copy" sounds so ugly, like "plagiarism," but it's not - immitation is the sincerest form of flattery. Now don't go crazy and drag yourself to Hobby Lobby to find the exact same materials or anything, but copy (or "be inspired by") the background color, photo layout, lettering style, etc with materials you already have and you'll be seriously surprised at how great YOURS looks. Ta-da! All the design flair, none of the wracking your brain!
3. KISS
You might not always feel the creative flair, even if you're copying, so I always say that less is more. Black and white? Perfect. Straight lines? So sleek and elegant. You don't have to cut your pictures into a collage, just keep them square with an accent square of paper behind it on a complimentary background, and you'll be pleased with how put-together it looks without feeling like you might regret it in the years to come. Ta-da! Upscale photo preservation in the guise of scrapbooking. I've never regretted a less-is-more page.
4. "Done is best"
I heard this saying about home projects - people tend to not finish them because of one or two small obstacles that they're not quite sure how to tackle, they know the project won't look or be perfect, so they leave it unfinished for years. Decades, even. Well, perfect or not, DONE is best. I tried to think of an exception to that saying and, well... I couldn't. Done IS best. Same with scrapbooking. I have plenty of un-favorite pages, color schemes that didn't quite pan out or pictures I wish I'd cut differently... but at least they're not stashed in a box where nobody can see them! (Not that you do that.) Some of those un-favorite pages I have gotten compliments on from other people, too, so it's not like they are AWFUL, they are just not MY favorites. And if I ever get really inspired and have loads of time on my hands and want to re-do them, I DO have them all digitally stored by year, separated into months, so I could easily find them again to reprint. But for now, DONE is best!
5. Digital Backup, baby
Final idea: burn your organized photos to CDs and label them; there is often a cd sleeve inside 12x12 scrapbook covers just WAITING for this. Then you have a record of all the original pictures (even ones you didn't scrapbook), untrimmed and un-glued down, that you can whip out and show an entire slide show of all the awesome moments, without tying yourself to SCRAPBOOKING all those awesome moments. It frees you up to scrapbook just your absolute favorites. Hey, you might even be able to do a flotsam-filled single-photo highlight of your kid on their 3rd birthday if you have all the other boring ones (necessary, but boring after 3 years, like unwrapping gifts) burned on a CD that's rightthere, chillin' in the CD sleeve.
Take from this what you will, and scrap happy!


